I'm going to warn you though, some these picture are pretty blurry. Taking photos one handed without a flash and and no tripod is a recipe for blur, but you will get the idea, I promise.
Remember the windows before.
So this was the fabric I bought, from Fabric.com

And what's a cornice? It's a stiff box-shaped window treatment at the top of a window.

I didn't want to make anything as fancy as this picture, but I do like the clean lines of a cornice.
Here's what you'll need, this is for one window, but some items will be enough for 2 or more just because of packaging:
- Tape measure
- Pencil and/or Pen
- One 4' x 8' sheet rigid insulation foam, 1" thick
- Box cutter and several blades
- Fabric of choice, about 1.25 yards per window (may need more based on the size of the window)
- 1 bag low loft quilt batting, twin size
- Hot glue gun & glue
- Duct tape
- Pins, plain old sewing pins
- Scissors
- Ruler (if you have a yard stick and a small ruler that's helpful)
- 2 small L-brackets & appropriate screws for mounting to your walls
- 1 piece of wood, 1/2" x 36" x 2" (this may change based on the size of the window)

Then you want to measure everything out on your insulation foam. A ball point pen works best for marking your foam. For my cornice I wanted it to be 16" from top to the tip of the triangle at the bottom so I started with a 16" x 40" rectangle for the main piece. I'll cut the triangle portion out later.

Then I cut out 2 rectangles that were 3" x 14", these will be the sides of my cornice.

INSIDER TIPS!
- When you're cutting your foam, use a fresh blade. The sharper the better! If you start to get any snags in the foam, change your blade. I went through about 4 blades making 2 cornices.
- Keep the angle of your blade shallow. The more upright you are the more the blade will snag.
- When cutting, hold your ruler (it's best if it's a metal one) next to your line and cut up against the ruler. It will keep your cut steadier.
- And this style of knife works best, because the blade is long enough to cut all the way through the foam.

Anyway, so this is when I cut out the point at the bottom of my cornice. To do this, I just found the center of one of the long sides, and then measured 14" down on the two short sides and connected the center to the 14" marks to get a nice even point. It helps if you cut from the outside edge in toward the point.

Okay, now it's time to assemble. Heat up the glue gun!
You want to glue the two 3" x 14" pieces to the sides to create the box.

Now, it's important to note that hot glue will eat away at the foam, somewhat. It's just because of the heat. You can use another glue, like Sobo craft glue if you want and it won't do this, but the drying time will be much longer (as in overnight) and I just reinforced my joints with duct tape and all is working out fine.

Now is the time to check your fit, make sure the cornice will fit around the window. If it does, you're good to keep going.
Next you should mount your piece of wood to the wall using the L-brackets. I had my wood bits left over from our fireplace make-over. You really just want something that's thinner than your side pieces (if yours are 3" thick, you want your wood to be 2 - 2.5") Start by attaching your L-brackets to your wood piece. Make sure they're equally spaced.

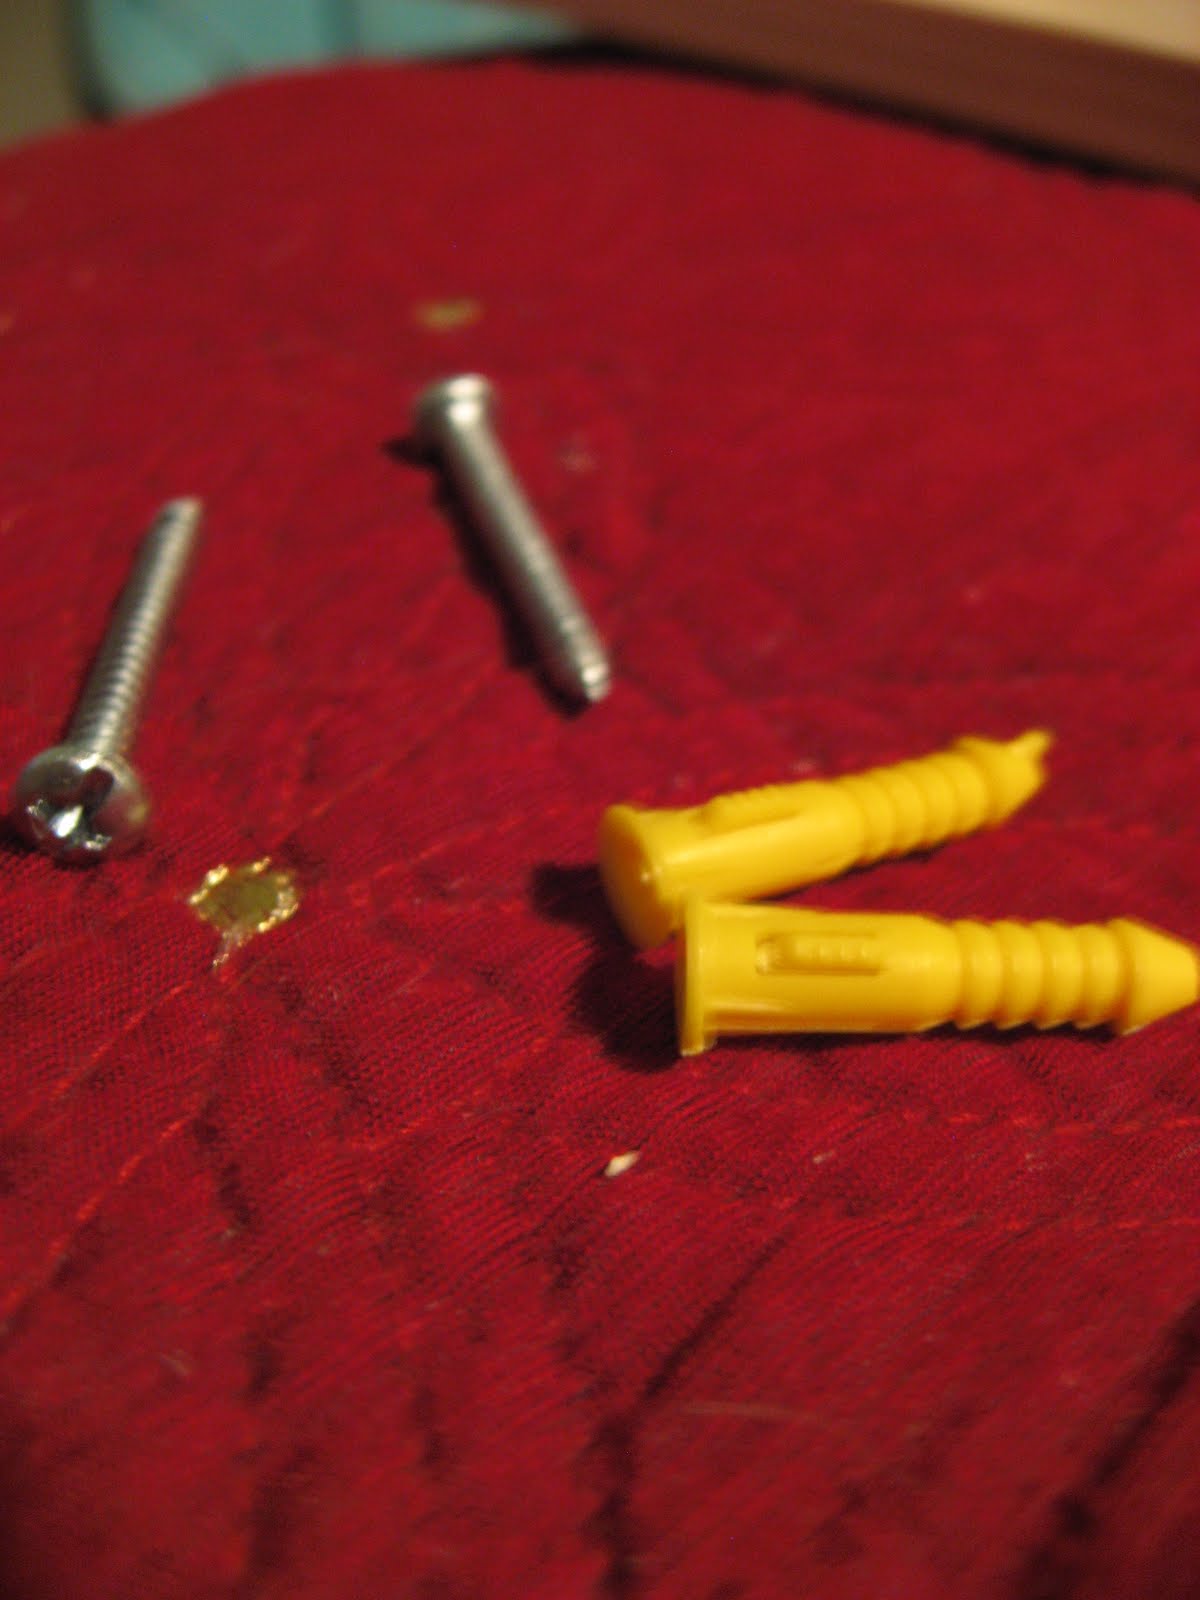
Now, you want to mount this to your wall above the window. Make sure to use whatever is recommending for YOUR walls. We have plaster walls her in our house and I bought a box of these anchors and screws a while back and they've worked out really well.
Okay, so mount your wood piece to your wall and make sure it's level. Then you want to measure down from your ceiling to the top of your piece of wood.

And take this measurement, and mark it across the inside/back of your cornice. (I know this photo is bad, you can sort of see the line I marked.


Great, now test your fit again. Your cornice should fit snugly between the wood and the ceiling. If it's not SUPER snug, it will fill out some when we add the fabric.
Before we get to the fabric part, we have to cut the batting. I used two layers of batting on my cornices. More batting will give you a more puffy, pillow-y effect, less will make it more square, but will make any sins that arose while cutting or fitting your foam pieces together more evident.
The easiest way to get two evenly cut layers of batting is to fold the batting in half, lay your cornice on top and cut both layers at once. If you know me you know I'm not much for measuring, just carefully fold your batting over the edge of your cornice to figure out how big to cut it. You want at least 1.5 inches wrapping around your entire cornice. And remember that on the sides it has to wrap over your side pieces.

Now you can lay down your fabric, good side down, and lay your batting and cornice on top. The key here is to center any kind of pattern your working with. If it's floral you probably want the most attractive part of the pattern in the center of your cornice. If it's stripes, you might have to do a little maneuvering to get them centered just right. With my pattern I was able to use the entire width of the fabric (selvage to selvage) and simply find the center with the point at the center of my cornice and line it up.
Cut your fabric 1 inch larger than your batting on all sides.

Now, you would think this is the part where I whip out some glue or even start sewing, but you would be wrong. I simply pinned my fabric to the foam all the way around. Pins, that's it. Mine have been up on the walls for about a week and nothing has come loose, and if I ever want to change the fabric out, it will be super easy.
What you want to do is fold your fabric over on top of your batting...

Then wrap the batting and fabric over on top of the foam....

Then pin straight into the foam. The key to pinning it is that you need to angle your pin so that the point is going TOWARD the edge of your cornice and the head of the pin is going toward the middle of the cornice. This position will keep the pin from being pulled out by the tension of the fabric.

Be sure to push it all the way down.
In a "+" shape, you should pin your fabric in the middle of all 4 sides, pulling it just a little tight, just enough to keep it smooth.

Then you can pin all the way around. The corners take a little extra work, but I use the gallery wrap method of folding them, the way I do when I stretch canvases for painting. See steps 8-11 here, and replace any staples with pins.
With all pins in place your cornice will look something like this.

Now you should just be able to pop it back up on your wood bracket and the snug-ness (for lack of a better term) between the ceiling and your foam piece in the center up against the wood should hold it in place.
If you DON'T want your cornice to go all the way to the ceiling, there's a simple fix to hold it up. Simply pre-drill some holes through your wood piece and after you've got your cornice up, hand turn some screws through the hole and up through the foam piece that rests on the wood. You shouldn't need to pre-drill the foam, it's so soft. You'll have to use a hand screwdriver to insert the screws for this because a power-drill PROBABLY won't fit behind your cornice. The cornice is so lightweight that 3-4 screws would easily hold it up.
I'm sure you're curious, so here are the finished cornices.


I do like they way they bring pattern and color up the the ceiling. I still plan to add a little detail to the roman shades and as soon as I find something to hang on the wall behind the rocking chair, this room will be complete.
And because it all comes down to cost at the end of the day, here's the breakdown:
2.5 yards fabric - $30
1 pkg quilt batting - $8
L - brackets - $8 (for 2 windows)
1 sheet insulation foam - $15
Had on hand - Duct tape, glue gun, hot glue sticks, box cutters, rulers, wall mounting screws/anchors, scissors, wood craft boards, pins
Total cost: $61
I think your tutorial is the best one I've seen. Thank you!
ReplyDelete